How to run PHP code in XAMPP
To run PHP code in XAMPP, follow these steps:
Install XAMPP: Download and install XAMPP from the official website (https://www.apachefriends.org/index.html). Follow the installation instructions specific to your operating system (Windows, macOS, or Linux).
Start XAMPP: After installation, start the XAMPP control panel. On Windows, you can find it in the Start menu. On macOS, you can find it in the Applications folder.
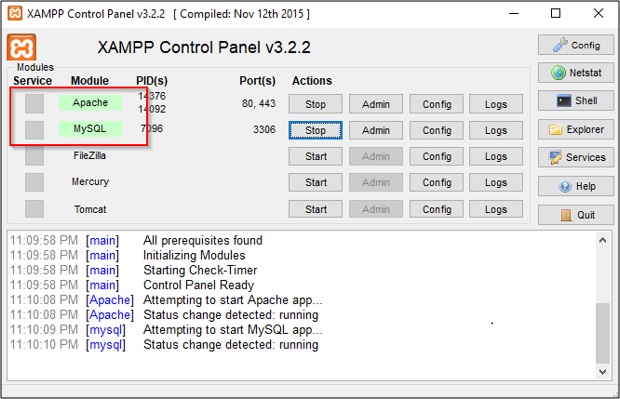
Start Apache Server: In the XAMPP control panel, click on the "Start" button next to Apache. This will start the Apache web server.
Create or Move Your PHP Files: You need to place your PHP files in the appropriate directory. By default, for XAMPP, you can put your PHP files in the htdocs directory. On Windows, it's typically located at C:\xampp\htdocs. On macOS, it's in /Applications/XAMPP/htdocs.
Access Your PHP Files in the Browser: Open your web browser and type http://localhost/ in the address bar. If everything is set up correctly, you should see the XAMPP dashboard. You can access your PHP files by placing them in the htdocs directory and navigating to http://localhost/your_php_file.php.
Test Your PHP Code: Create a new PHP file (e.g., test.php) in the htdocs directory.
Access Your PHP File: Open your web browser and navigate to http://localhost/test.php. You should see "Hello, World!" displayed on the page.
That's it! You've successfully set up XAMPP and run PHP code on your local server. You can now create and test PHP applications locally before deploying them to a live server.
Thank you,